Monitoring humidity: low-cost sensors and placement tips for wash spaces
Monitoring humidity in wash spaces helps protect finishes, reduce mold risk, and keep indoor air comfortable. This article outlines practical sensor choices, where to place them, and how ventilation, drainage, and simple maintenance work together to manage moisture in bathrooms and other wash areas.

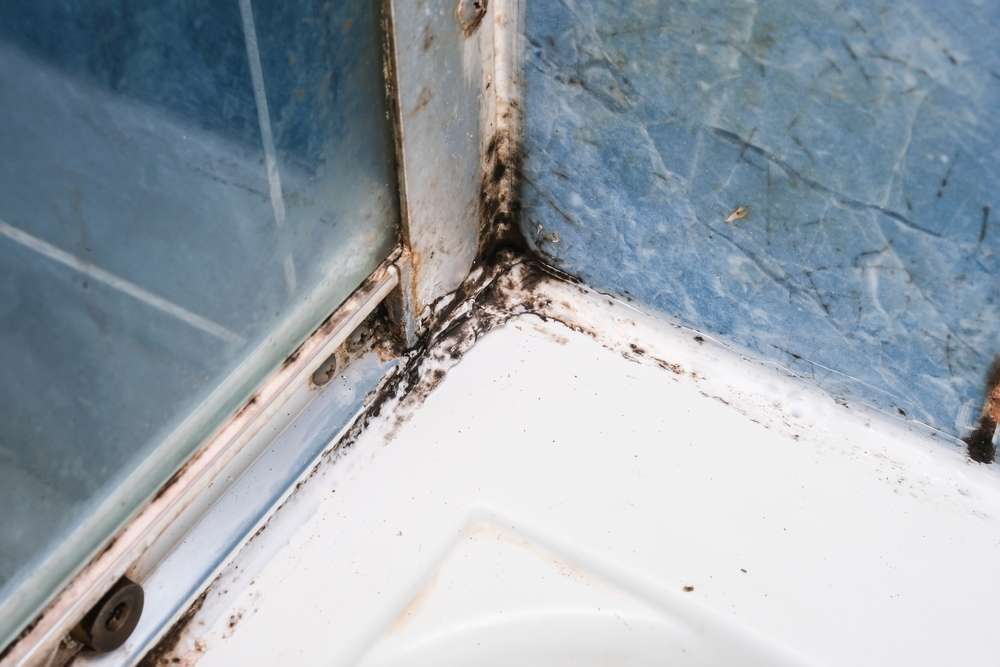
Monitoring humidity in wash spaces begins with understanding how moisture behaves in a compact, frequently wet environment. Walls, grout lines, and fixtures trap dampness; poor ventilation and restricted airflow allow humidity to linger and encourage mold and mildew growth. Effective monitoring combines inexpensive sensors with sensible placement, basic waterproofing and maintenance of tiling, grout and sealant, and attention to drainage and airflow to keep levels manageable and protect finishes over time.
How does ventilation affect humidity and airflow?
Good ventilation directly lowers ambient humidity by exchanging moist air for drier air, reducing condensation on mirrors, tiles and fixtures. Mechanical ventilation—exhaust fans sized appropriately for the room—should move air from the room to the outside and be positioned to capture steam near showers or tubs. Natural ventilation through windows can help if used consistently, but it relies on cross-ventilation and outdoor conditions. Proper airflow also prevents pockets of trapped moisture where mold and mildew are more likely to form.
How do sensors monitor humidity in wash spaces?
Low-cost sensors measure relative humidity and temperature to indicate when conditions are favorable for mold growth or condensation. Many consumer models deliver readings via display, Bluetooth, or Wi‑Fi, and some log trends so you can see when spikes occur (for example, after a shower). When paired with a dehumidifier or a ventilation schedule, sensor readings help decide whether to run fans or increase ventilation frequency. Choose sensors rated for indoor use and resistant to occasional splashes in damp rooms.
Where should sensors be placed for reliable readings?
Place sensors where they reflect typical room conditions, not directly in the spray path of a shower or above a radiator. Common placements are at eye level on a wall near the shower area but away from direct water exposure, or on a shelf near fixtures where airflow is representative of the room. Avoid corners and very high or very low spots that trap different microclimates. If your bathroom has distinct zones (shower alcove, toilet area), consider two sensors to compare humidity near tiling and near the door to assess airflow and localized moisture.
How do waterproofing, grout, sealant and tiling affect moisture control?
Surface protection reduces the amount of water that penetrates walls and floors, lowering the burden on ventilation and drainage. Regularly inspect grout and sealant for cracks or gaps; failing grout can allow moisture behind tiles, creating hidden damp areas prone to mold. Proper waterproofing under tiles and correct slope toward drains ensure water exits rather than pools behind fixtures. Routine maintenance of tiling and sealant is a low-effort way to reduce long-term moisture problems and complement humidity monitoring with sensors.
What role do dehumidifiers, retrofitting and maintenance play?
A small dehumidifier can stabilize humidity where ventilation alone isn’t enough, particularly in basements or bathrooms without reliable airflow. Retrofitting improvements—upgrading fans, adding timed controls, or installing humidity-sensing switches—can be cost-effective ways to automate drying. Regular maintenance of fans, cleaning fan vents, ensuring drain traps function and replacing worn sealant will reduce moisture sources. Monitor sensor trends after retrofitting to confirm that changes lower peak humidity and reduce durations above safe thresholds.
| Product/Service | Provider | Cost Estimation |
|---|---|---|
| Govee Temperature & Humidity Monitor (Bluetooth/Wi‑Fi options) | Govee | $20–$40 |
| ThermoPro TP50 Hygrometer | ThermoPro | $15–$25 |
| Aqara Temperature & Humidity Sensor (Zigbee) | Aqara/Xiaomi ecosystem | $20–$30 |
| SensorPush HT1 (Bluetooth) | SensorPush | $60–$90 |
| Eve Room (Apple HomeKit) | Eve Systems | $70–$100 |
Prices, rates, or cost estimates mentioned in this article are based on the latest available information but may change over time. Independent research is advised before making financial decisions.
Real-world cost and installation notes
Entry-level hygrometers and Bluetooth sensors can be bought for under $25; Wi‑Fi models and devices with long-term logging or smart-home integration typically cost more. If retrofitting ventilation or adding a dehumidifier is required, labor and equipment can increase total spending—upgrading an exhaust fan or installing a humidity-controlled switch may change project costs considerably. Consider the scale of the room, whether multiple sensors are needed, and whether you want data logging when estimating overall expense.
Monitoring humidity in wash spaces is a practical strategy that combines inexpensive sensors, considered placement, and routine upkeep. When sensors are placed to reflect typical airflow and kept away from direct water exposure, their readings help inform ventilation schedules, dehumidifier use, and targeted maintenance of grout, sealant and waterproofing. Consistent attention to drainage, fixtures and ventilation reduces the conditions that allow mold and mildew to develop and preserves finishes and indoor air quality over time.


